
-
Tile on Tile Installation Guide: Can You Fix New Tiles Over Old Tiles?
-

Magicrete
29 Aug 2026
Introduction
Tile-on-tile installation can make renovation faster by avoiding unnecessary demolition, reducing dust and debris, and minimising disruption. But it is suitable only when the existing tile surface is stable and properly prepared.
The success of tile on tile installation depends on the condition of the old tiles, surface preparation, moisture conditions, and the adhesive system used for the new installation.
Yes, you can install new tiles over old tiles if the existing tiles are firmly bonded, free from major defects, and suitable for preparation and bonding.
Can You Install New Tiles Over Old Tiles?
Yes, new tiles can be installed over existing tiles when the old surface is sound, stable, clean, and properly prepared.
Before starting, check that:
- Existing tiles are firmly bonded
- There are no hollow or loose areas
- Tiles are not cracked or debonding
- There is no active moisture or seepage problem
- The surface can be cleaned and prepared properly
- The adhesive is suitable for the existing and new tile surfaces
Because glazed and vitrified tiles generally have low water absorption, adhesive compatibility and surface preparation are particularly important.
For suitable options, explore the Tile Adhesive category.
Why Does Tile-on-Tile Installation Work?
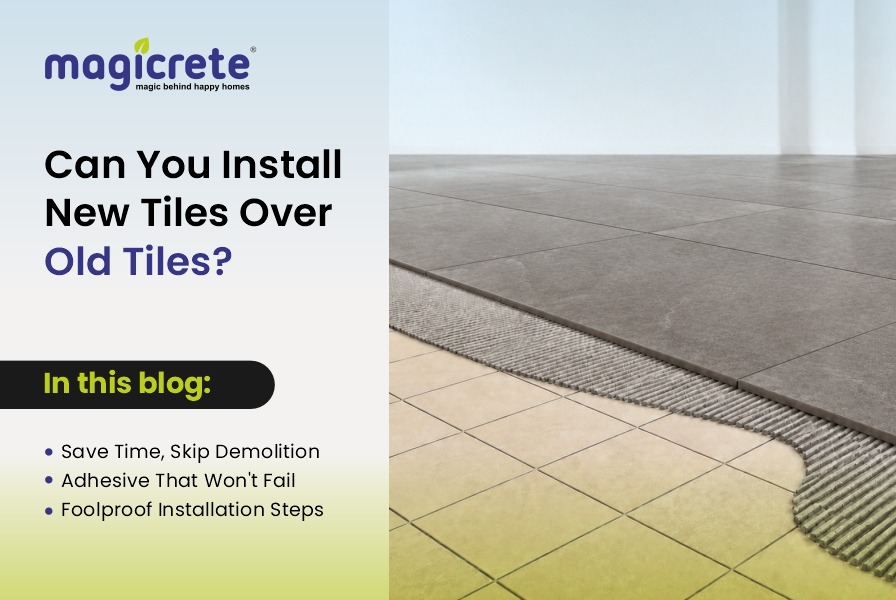
Tile-on-tile installation creates a new bonding layer between the existing tiles and the new tiles.
Unlike a conventional porous substrate, an existing glazed tile can provide a smooth, low-absorption surface. The adhesive therefore needs to be compatible with the surface, while proper preparation helps achieve reliable bonding.
A successful installation depends on:
- A stable existing tile layer
- A clean bonding surface
- Suitable adhesive compatibility
- Proper adhesive coverage
- Controlled adhesive thickness
- Correct curing conditions
For a broader explanation of tile adhesive selection, see our tile adhesive guide.
When Should You NOT Install Tiles Over Old Tiles?
Tile-on-tile installation should be avoided when the existing surface has underlying problems.
Do not install over old tiles if:
- Tiles sound hollow when tapped
- Tiles are loose or debonding
- Tiles are cracked or badly damaged
- The substrate has movement
- Moisture or seepage is present
- The surface is heavily contaminated
- The existing layer is structurally unstable
In these situations, removing the affected tiles and correcting the underlying surface is safer than covering the problem with another tile layer.
Why Should Hollow Tiles Be Removed?
A hollow sound can indicate poor bonding beneath an existing tile. Covering a poorly bonded tile with a new tile does not correct the underlying failure and can compromise the new installation.
Surface Preparation for Tile Over Tile Installation
Proper preparation is critical because the new adhesive must bond to the existing tile surface.
1. Inspect the Existing Tiles
Check the entire surface for hollow areas, cracks, loose tiles, movement, and visible damage.
2. Remove Weak or Damaged Tiles
Remove loose, cracked, or debonded tiles. Repair the exposed areas before continuing.
3. Clean the Surface
Remove dust, grease, oil, dirt, cement residue, coatings, and other contaminants.
4. Roughen the Glazed Surface
Where required by the selected adhesive system, mechanically roughen the smooth glazed surface to improve the bonding interface.
5. Correct Surface Levels
Correct significant unevenness before installing the new tiles. Do not rely on excessive adhesive thickness to compensate for an unsuitable surface.
6. Apply Primer if Required
For difficult or low-absorption surfaces, use a compatible bonding primer when specified by the selected installation system.
What Are the Technical Requirements for Tile-on-Tile Adhesion?
A reliable tile-on-tile installation requires an adhesive system that matches the existing surface, new tile, and installation conditions.
Consider:
- Bond strength
- Compatibility with low-absorption surfaces
- Adhesive coverage
- Flexibility where movement may occur
- Primer compatibility where required
- Correct curing conditions
If you need help narrowing down the adhesive type, use the Tile Adhesive Selector.
What Is the Best Adhesive for Tile-on-Tile Installation?
A high-bond, polymer-modified tile adhesive suitable for low-absorption or non-porous surfaces is generally appropriate to consider for tile-on-tile applications.
The final choice should depend on:
- Existing tile type
- New tile type
- Surface absorption
- Indoor or outdoor application
- Moisture exposure
- Expected movement
- Tile size
- Substrate condition
The adhesive should always be selected according to the manufacturer's recommended application and substrate conditions.
Tile-on-Tile Adhesive vs Normal Tile Adhesive
Factor | Normal Tile Installation | Tile-on-Tile Installation |
Surface | Usually conventional substrate | Existing tile surface |
Absorption | Often higher | Usually low |
Bonding | Standard substrate bonding | Requires suitable compatibility |
Preparation | Important | Critical |
Adhesive selection | Based on tile and substrate | Based on both tile layers and conditions |
Failure risk | Depends on substrate | Higher if old tiles are unstable |
The main difference is that the new adhesive must bond to an existing finished tile surface rather than a conventional substrate.
Common Problems in Tile Over Tile Installation
Incorrect preparation or unsuitable adhesive selection can lead to:
- Weak bonding
- Hollow tiles
- Debonding
- Moisture-related problems
- Uneven tile surfaces
- Adhesive failure
These issues are often avoidable with proper inspection, preparation, adhesive selection, and installation technique.
For common application errors, see the tile adhesive mistakes guide.
Tile-on-Tile Installation in Different Areas
Tile-on-tile installation requirements can vary depending on the location.
Bathrooms
Check for moisture, seepage, loose tiles, and underlying substrate problems before covering existing tiles.
Kitchens
Thoroughly remove grease, oil, and other contaminants before adhesive application.
Balconies
Consider water exposure, temperature changes, drainage, and potential movement when selecting the installation system.
Residential Renovation
Inspect the complete existing surface because older installations can contain repaired, loose, or damaged areas.
Commercial Spaces
Higher traffic and loading make existing tile stability, adhesive compatibility, and coverage especially important.
What Are the Advantages of Tile Over Tile Installation?
When the existing surface is suitable, tile-on-tile installation can offer:
- Less demolition
- Faster renovation
- Less dust and debris
- Lower site disruption
- Reduced removal and disposal work
- Potentially lower labour and time requirements
However, these advantages apply only when the existing tile layer is stable.
Step-by-Step Tile-on-Tile Installation Method
Step 1: Inspect the existing tiles.
Check the entire surface for cracks, hollow areas, loose tiles, and movement.
Step 2: Tap the surface to identify hollow areas.
Mark any areas that produce a hollow sound.
Step 3: Remove loose, cracked, or debonded tiles.
Do not cover unstable tiles with new tiles.
Step 4: Repair affected areas.
Correct damaged or uneven sections before continuing.
Step 5: Clean the existing tile surface thoroughly.
Remove dust, grease, dirt, and other contaminants.
Step 6: Roughen the glazed surface where required.
Follow the preparation requirements of the selected adhesive system.
Step 7: Apply a compatible primer if specified.
Step 8: Apply the selected tile adhesive.
Follow the manufacturer's recommended application method and coverage requirements.
Step 9: Install the new tiles.
Maintain correct alignment and joint spacing.
Step 10: Allow the adhesive to cure.
Follow the recommended curing period before subjecting the installation to use.
Step 11: Finish the joints with compatible grout.
Explore the Tile Grout category for grout solutions.
Does Tile-on-Tile Installation Increase Floor Height?
Yes. The new tile and adhesive layer increase the finished floor height.
Before installation, check:
- Door clearances
- Thresholds
- Stair levels
- Floor transitions
- Drains
- Bathroom slopes
- Skirting levels
Conclusion
Tile-on-tile installation can be a practical renovation solution when the existing tiles are firmly bonded and the surface can be properly prepared.
Before installing new tiles, always check the existing surface for hollow areas, cracks, loose tiles, moisture, movement, and contamination.
If the existing surface is sound, properly prepared, and paired with a suitable adhesive system, installing new tiles over old tiles can reduce demolition and make renovation more efficient.
The rule is simple: stable existing tiles can be considered for tile-on-tile installation; unstable tiles should be removed before installing the new surface.
Frequently Asked Questions
Can You Install New Tiles Over Old Tiles?
Yes, if the existing tiles are firmly bonded, stable, clean, and properly prepared.
What Adhesive Is Best for Tile Over Tile?
A high-bond adhesive suitable for low-absorption or non-porous surfaces is generally preferred.
Can Bathroom Tiles Be Installed Over Old Tiles?
Yes, provided the existing tiles are sound and there is no underlying moisture or structural problem.
Do Old Tiles Need to Be Removed Before Tiling?
Not always. Remove them when they are loose, hollow, cracked, moisture-affected, or unstable.
Does Tile-on-Tile Installation Increase Floor Height?
Yes. The new tile and adhesive layer add to the finished floor level.
Can Vitrified Tiles Be Installed Over Existing Tiles?
Yes, when the existing surface is stable and the adhesive system is suitable for the low-absorption surfaces involved.
Content
- Introduction
- Can You Install New Tiles Over Old Tiles?
- Why Does Tile-on-Tile Installation Work?
- When Should You NOT Install Tiles Over Old Tiles?
- Surface Preparation for Tile Over Tile Installation
- What Are the Technical Requirements for Tile-on-Tile Adhesion?
- What Is the Best Adhesive for Tile-on-Tile Installation?
- Tile-on-Tile Adhesive vs Normal Tile Adhesive
- Common Problems in Tile Over Tile Installation
- Tile-on-Tile Installation in Different Areas
- What Are the Advantages of Tile Over Tile Installation?
- Step-by-Step Tile-on-Tile Installation Method
- Does Tile-on-Tile Installation Increase Floor Height?
- Conclusion
- Frequently Asked Questions
